User Guide
This guide will help navigate the platform to manage the shared household efficiently.
1. Getting Started
1.1 Accessing the App
Open your web browser and navigate to the deployed application URL (or http://localhost:8501 if running locally).
1.2 Registration and Login:
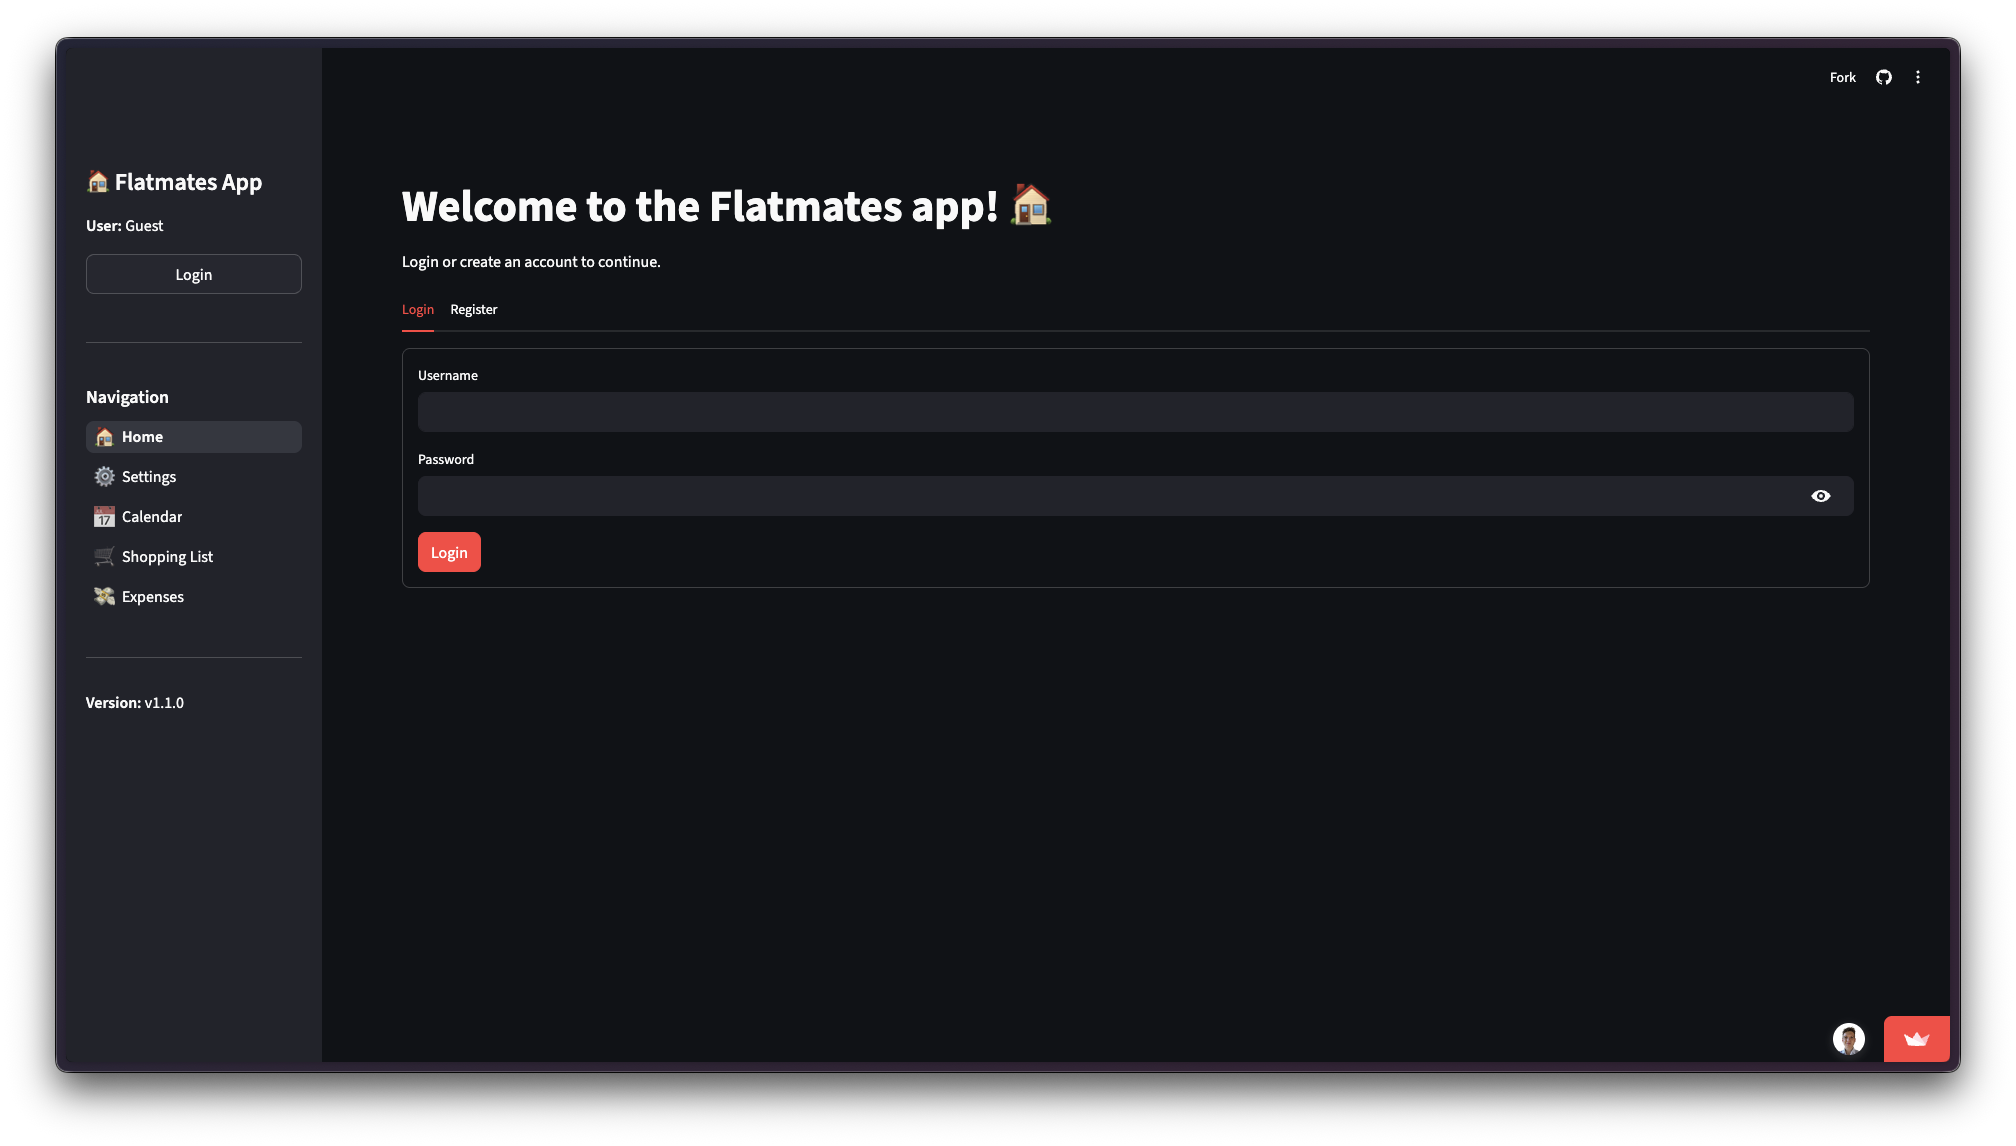
- Sign Up:
- On the landing page, select the “Register” tab.
- Enter a unique username and a strong password.
- New House: If you are the first flatmate, enter a “House Name” to create a new household.
- Join House: If a house already exists, enter the Join Code provided by your flatmate.
- Click “Register” to create your account.
- Log In:
- Select the “Login” tab.
- Enter your username and password.
- Click “Login” to access your dashboard.
2. Pages navigation
2.1 Home Page
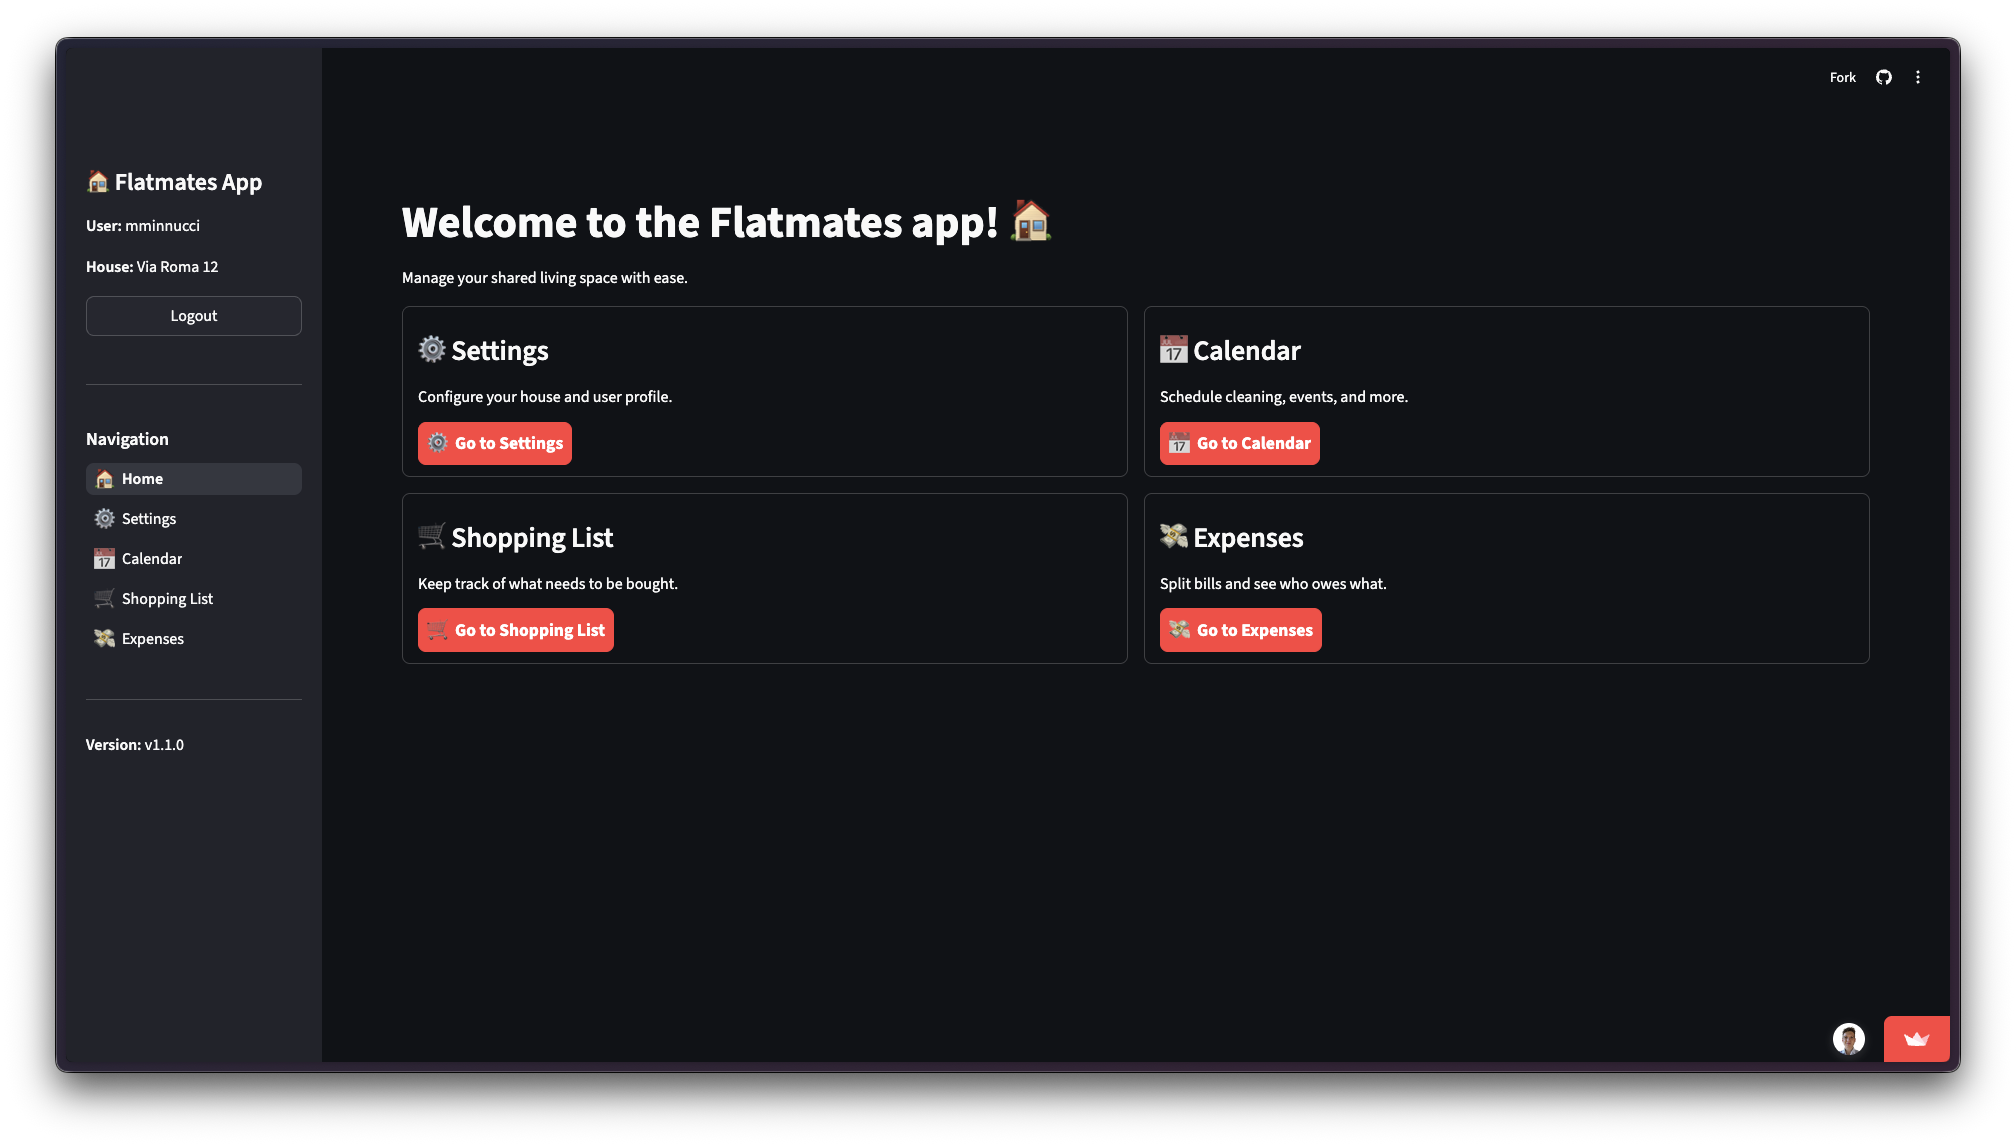
The Home page is a starting point to access the other modules. Is like the sidebar of the app: you can access to the other 4 pages from here.
2.2 Settings
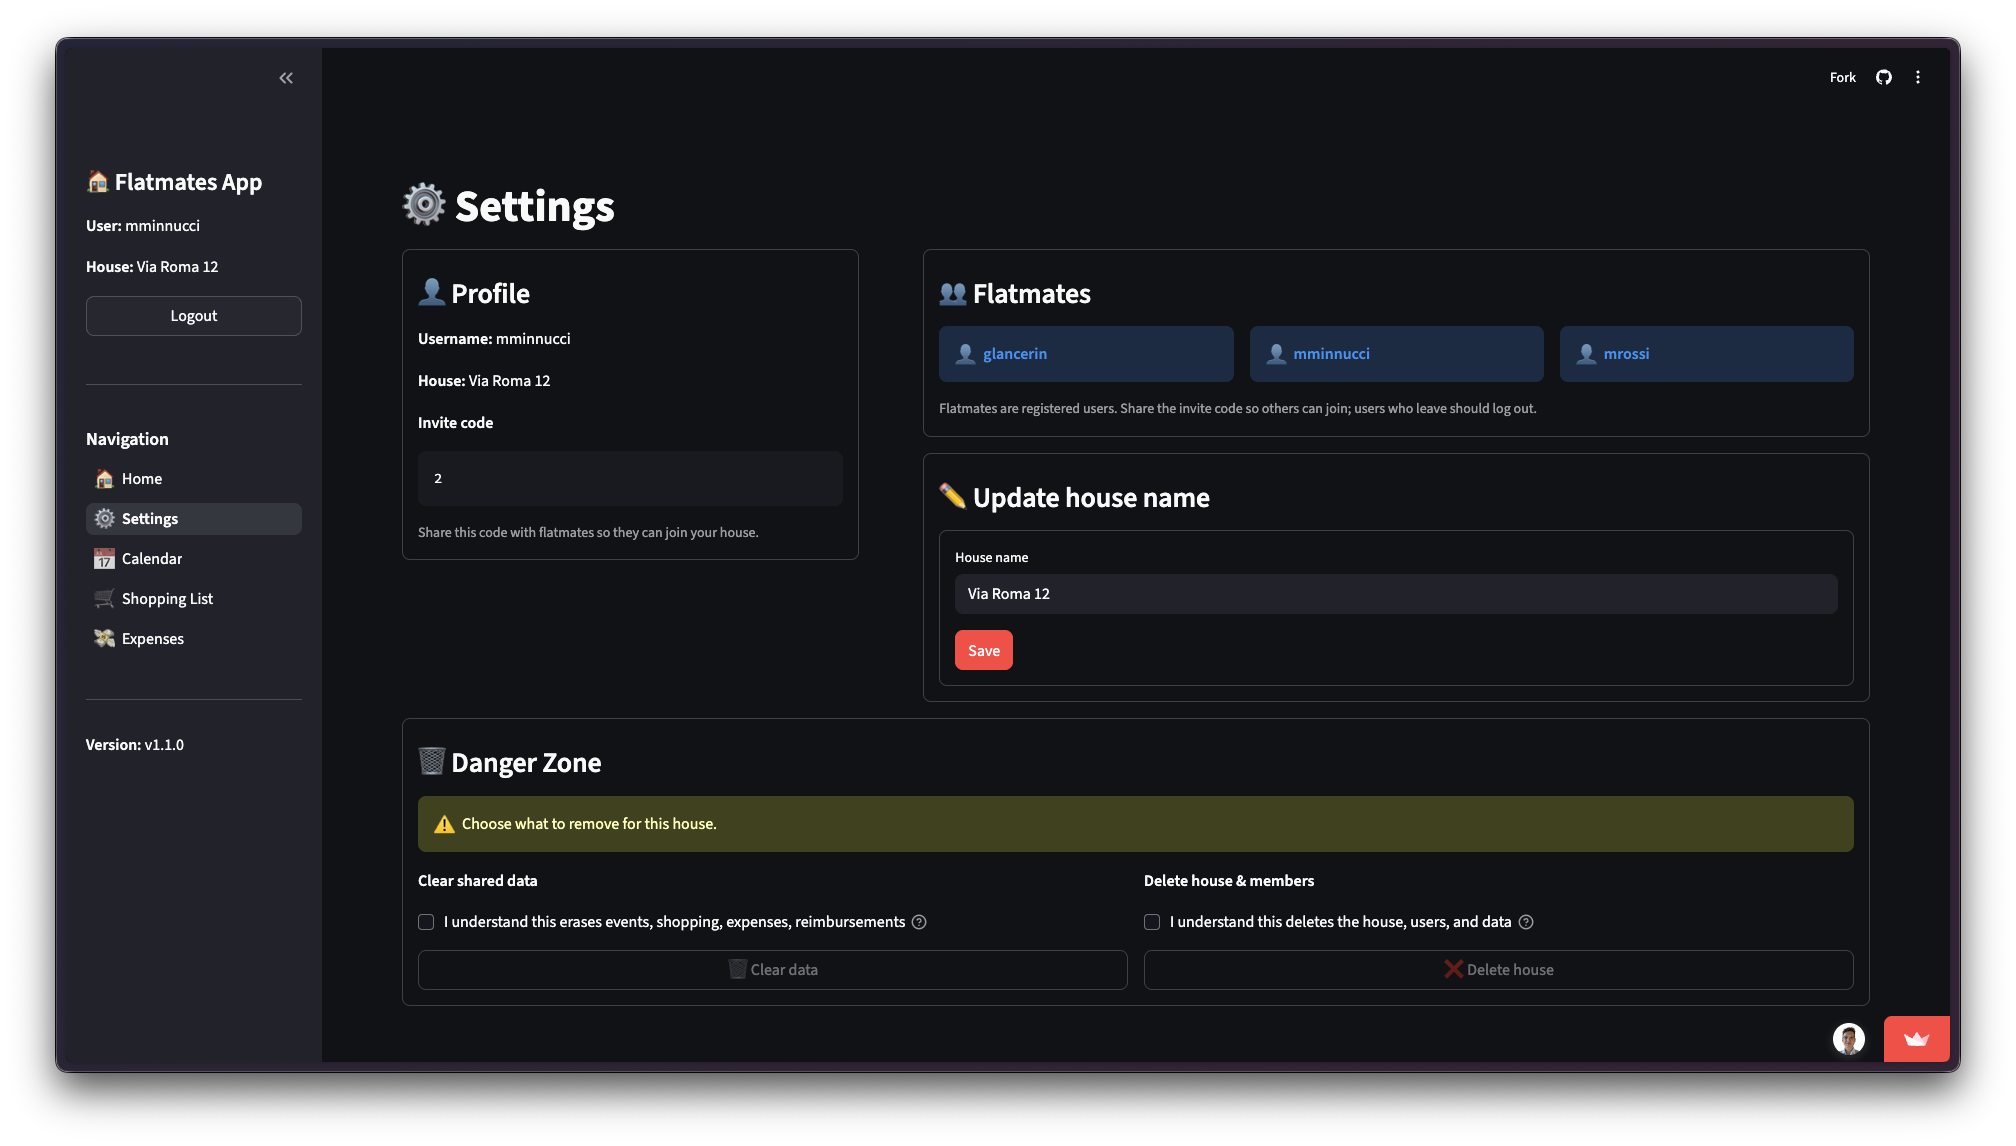
The Settings page provides a snapshot of your house configuration:
- Profile box: Displays your username, your house name, and the invite code (if available) to share with others.
- Flatmates box: Lists the usernames of all flatmates currently in the house.
- Update house name box: A form to rename the house.
- Danger zone box: Options to “Clear shared data” (erases events, shopping list, expenses, and reimbursements) or “Delete house & members” (permanently deletes the house and all associated users/data).
- Sidebar: Navigation menu to access the modules: Calendar, Shopping List, Expenses, and the Home page (Flatmates App).
2.3 Expenses
This module allows you to track shared costs and settle debts.
Add an Expense:
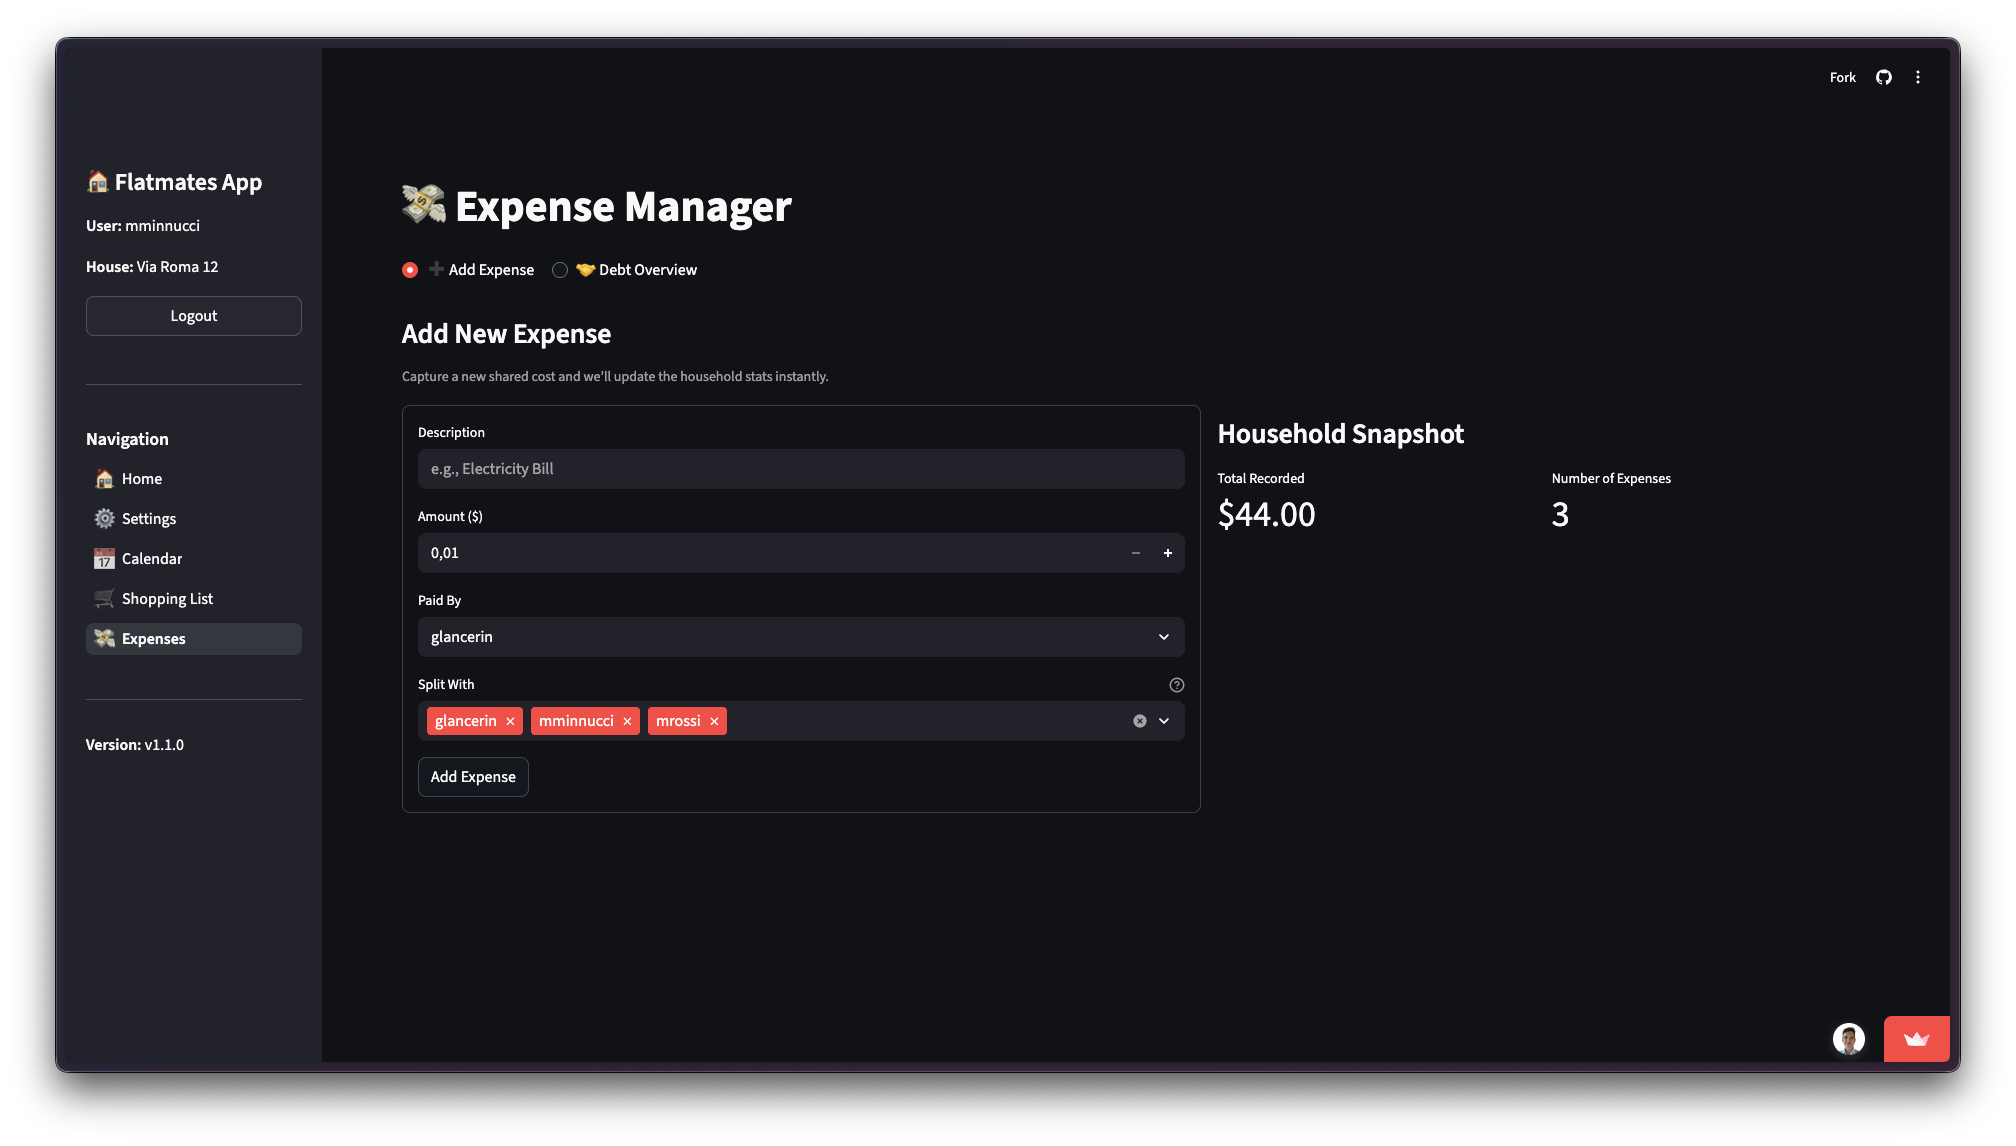
- Navigate to the “Add Expense” tab (default view).
- Fill in the form: Description (e.g., “Internet Bill”), Amount ($), Paid By (select the payer), and Split With (multiselect flatmates).
- By default, the cost is split equally among the selected members.
- Click “Add Expense”.
View Debts:
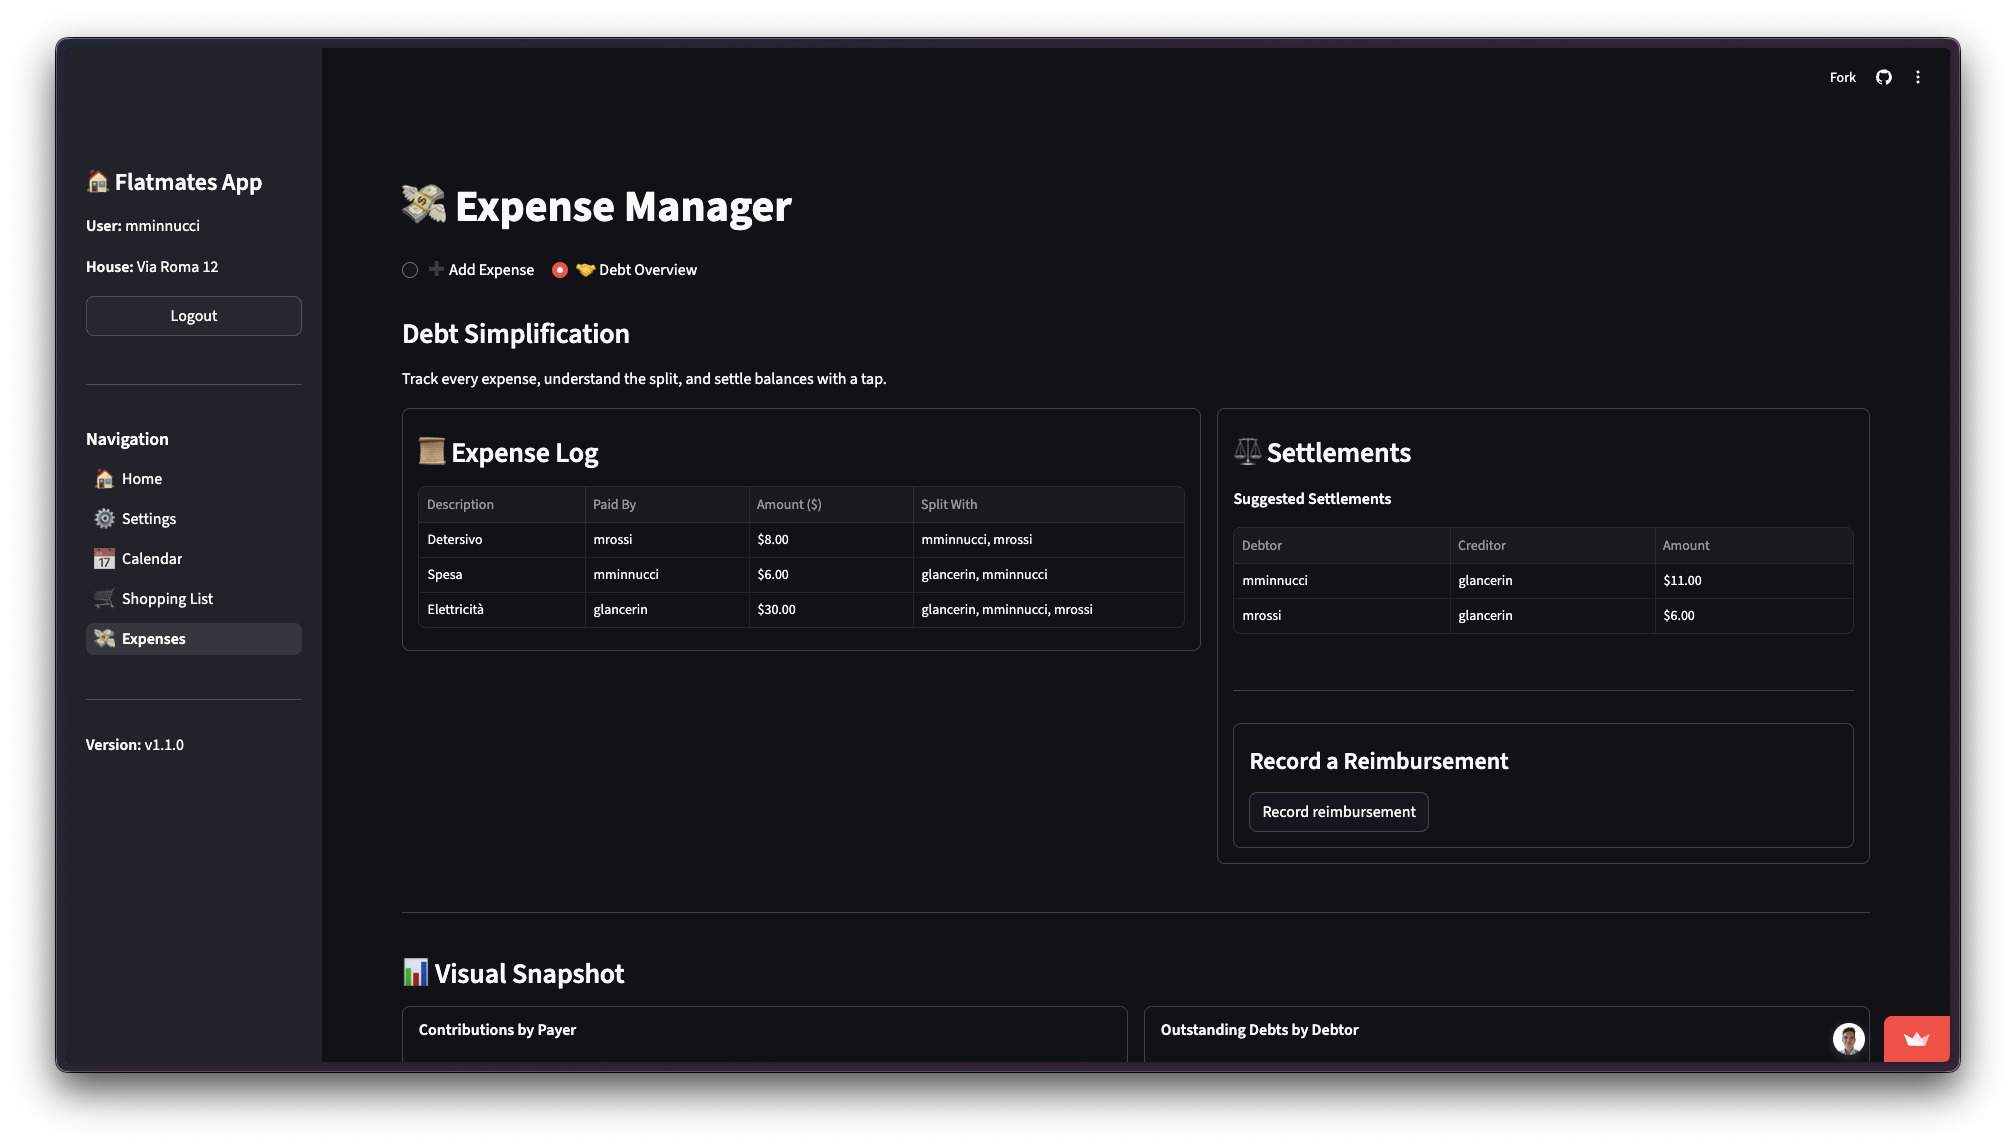
- Switch to the “Debt Overview” view.
- Expense Log: A table showing all recorded expenses.
- Settlements: A table showing calculated debts (Who owes Whom and how much).
Settle Up:
- In the “Debt Overview” view, look for the “Record a reimbursement” section.
- Click “Record reimbursement” to open the form.
- Select a settlement: Choose a specific debt to pay off from the dropdown list (e.g., “Bob → Alice ($50.00)”).
- Click “Confirm reimbursement”. The debt balance will update automatically.
2.4 Calendar

View Events: The main calendar view displays all household events.
Add Event:
- From List View: Click the “➕ Create New Event” button in the side panel.
- From Day View: Click on a specific date in the calendar, then use the “➕ Add Event” form in the side panel.
- Enter Title, Date, Start/End Time (optional), Description, and Assign To (select flatmates).
- Click “Create Event”.
Edit Event:
- Click on an existing event to see its details in the side panel.
- Click “✏️ Edit” to modify the event.
2.5 Shopping List
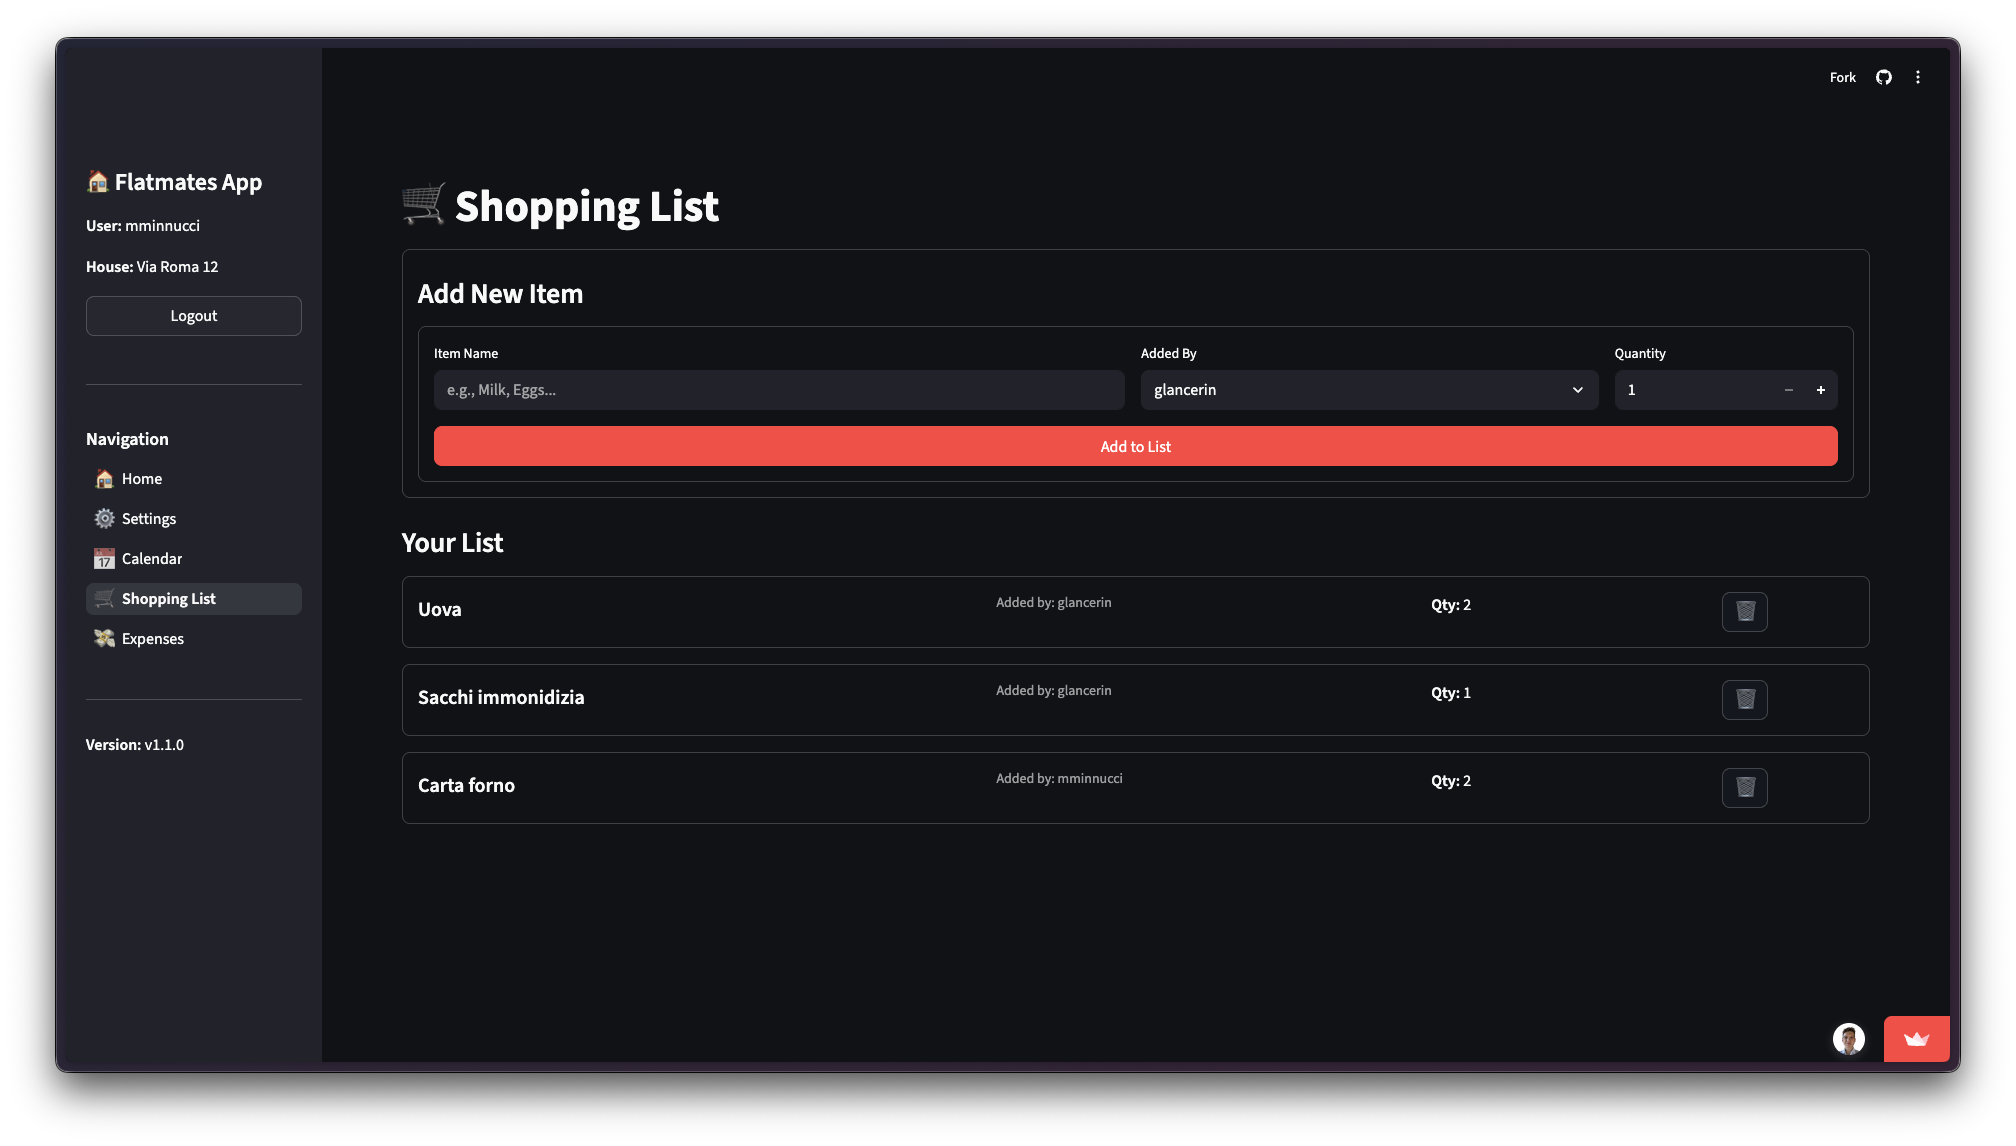
Add Item:
- Fill in the form: Item Name (e.g., “Milk”), Added By (select user), and Quantity.
- Click “Add to List”.
Manage Items:
- Items appear in the “Your List” section.
- Remove Item: Click the trash icon (🗑️) next to an item to remove it from the list. (Note: There is no “mark purchased” checkbox; items are simply deleted when bought).